Showing posts with label chicken. Show all posts

Wednesday, March 13, 2013

Chicken Satay


Here is the version of chicken satay that Sal and I enjoy at home!
I'm not sure how authentic this is when compared to real Thai, but we've had satay at a few restaurants, and it is similar enough. My favorite is hard to beat...you can get it as an appetizer from Bangkok 96, the best Thai food you can get in the Metro-Detroit area!

Apparently this is Thai-food week for us...we got take-out on Sunday, made the Thai chicken quinoa, and now this. This was actually supposed to be our meal a while back, I just got very busy and didn't end up fitting it in, so here it is now, conveniently with the others. Unlike the quinoa dish, this is not spicy. I'd say it is predominately curry and nutty tasting.

Ingredients
4 tablespoons creamy peanut butter
1/3 cup soy sauce
1/2 cup lemon or lime juice
1 tablespoon brown sugar
2 tablespoons curry powder
2 cloves garlic, chopped
1 teaspoon hot pepper sauce (Sriracha)
3 skinless, boneless chicken breasts, cut into strips

Directions
1. Combine and mix soy sauce, lemon/lime juice, brown sugar, curry powder, garlic and hot pepper sauce.
2. Melt peanut butter and add to marinade. I melt via microwave on medium heat for about 30-40 seconds.
3. Once the chicken is cut, place the chicken breasts in the marinade and refrigerate. I just toss everything into a quart-sized ziplock and every now and then (when I think of it) I mush everything in the bag around and flip over so everything is getting the marinade.
4. Let the chicken marinate at least 2 hours, overnight is best.
5. Grill!--Preheat a grill to high heat (outdoor or kitchen, here is the one we use). If on outdoor grill, weave the chicken onto skewers, then grill for 5 minutes per side. Indoor grills vary depending on type, so please consult your manual. For me, it usually takes a little bit longer (7 min per side) and I don't put the chicken on skewers unless they are all exactly the same thickness (and they usually aren't).
If you do not own a small grill, there are also cast iron grill pans (something like this) that are less expensive and would make for a good investment so you can grill inside when you need to. :)

Best served over a nice bed of brown rice!

**TIPS!
1. Remember, anytime you are handling raw chicken, make sure you wash your hands before you touch anything else. You will deal with it a few times here...and when you flip the raw chicken with a utensil, make sure you use a different one when you actually remove the cooked chicken from the grill.
2. After you have grilled both sides, check to verify the chicken is cooked completely by making a cut in the thickest piece. If it is done, the rest probably are. If it is not, wait 1-2 minutes and check the next thickest piece.
3. If using an indoor grill, it is likely you will have more chicken than room on your grill. Once you remove a batch, put it in a small dish lined and covered with aluminum foil to help keep the chicken warm while you finish cooking the rest. Before adding the next round of chicken to the grill, fold together a few paper towels and dampen entirely with room temp/cool water. Carefully wipe the marinade that has inevitably stuck to the grill to have a fresh surface for the next grilling.


If you want, you can also purchase various sauces for dipping. We own a Thai peanut dipping sauce. You can find this in the world food's section of your local grocery store.

Monday, March 11, 2013

Thai Chicken Quinoa


Today in recipe-land, I bring you to thai chicken quinoa!
I am not exactly sure how I stumbled upon this little gem, but my husband and I love "thai" and "chicken" and "quinoa", so I found it necessary to give this a shot! Be careful, if you aren't a fan of hot(ish) spice, this dish may not be for you.

The recipe is from: here . I will definitely be saving this blog for future recipe reference!

Ingredients  (for 2):
1/2 cup uncooked quinoa
2 chicken breasts
1/3 cup chopped carrots
1/3 cup chopped green onions
1/4 cup chopped peanuts
1/4 cup freshly chopped cilantro

--Sauce--
2 tablespoons sweet chili sauce (we used Sriracha)
1 tablespoon rice vinegar
1 tablespoon canned coconut milk
1/2 tablespoon brown sugar
1 teaspoon creamy peanut butter (it mixes in easier if it's melted, FYI)
1 garlic clove
1/2 lime, juice
1/8 teaspoon ground ginger

Directions
Shred the chicken! Essentially...
1. Cut fat off of the chicken breasts, and pound even. Hint! Cover the chicken with plastic wrap on the cutting board, so when you pound the chicken flat it doesn't spray raw chicken all over the kitchen. EW.
2. Boil water and add chicken breasts, boil for ~20 minutes, until chicken is no longer pink. Don't over cook so it doesn't get all rubbery!
3. Allow to cool a little, then shred.

4. Prepare quinoa according to directions, which will most likely call for 1 cup of liquid. I prefer to use low-sodium chicken stock, so use it if you have it.
5. While quinoa is cooking, combine all of the sauce ingredients together in a bowl and whisk well to combine.
6. Once quinoa has absorbed all of the liquid, stir in the sauce and toss well to coat.
7. Add in chicken, carrots, and green onions, stirring to combine. Taste and season with a little salt and pepper if needed.
8. Toss in half of the peanuts and cilantro and mix, then serve and top with remaining peanuts and cilantro.

If there are other ingredients commonly used in Thai meals that you'd like to add, say edamame (the original recipe calls for this. there wasn't any at the grocery store when I was there, so I didn't include here) or peas, I'm sure they would fit in perfectly well!

A side that I love to include with asian dishes (goes well with chicken teriyaki as well) is onion and zucchini. I will post a recipe for that soon (it's ridiculously easy).


It was delicious!!! 

Sunday, March 25, 2012

INFO: boneless, skinless chicken breast

Here are a few useful links I stumbled upon about chicken:

Easy Crock Pot Chicken Recipes
http://busycooks.about.com/od/recipesbycourse/a/morechickencp.htm

Background on boneless, skinless chicken breast (pg 1)
http://busycooks.about.com/od/chickenrecipes/a/howtocookchixbr.htm

Methods for cooking boneless, skinless chicken breasts (pg 2)
http://busycooks.about.com/od/chickenrecipes/a/howtocookchixbr_2.htm

Sunday, January 8, 2012

Chicken Teriyaki

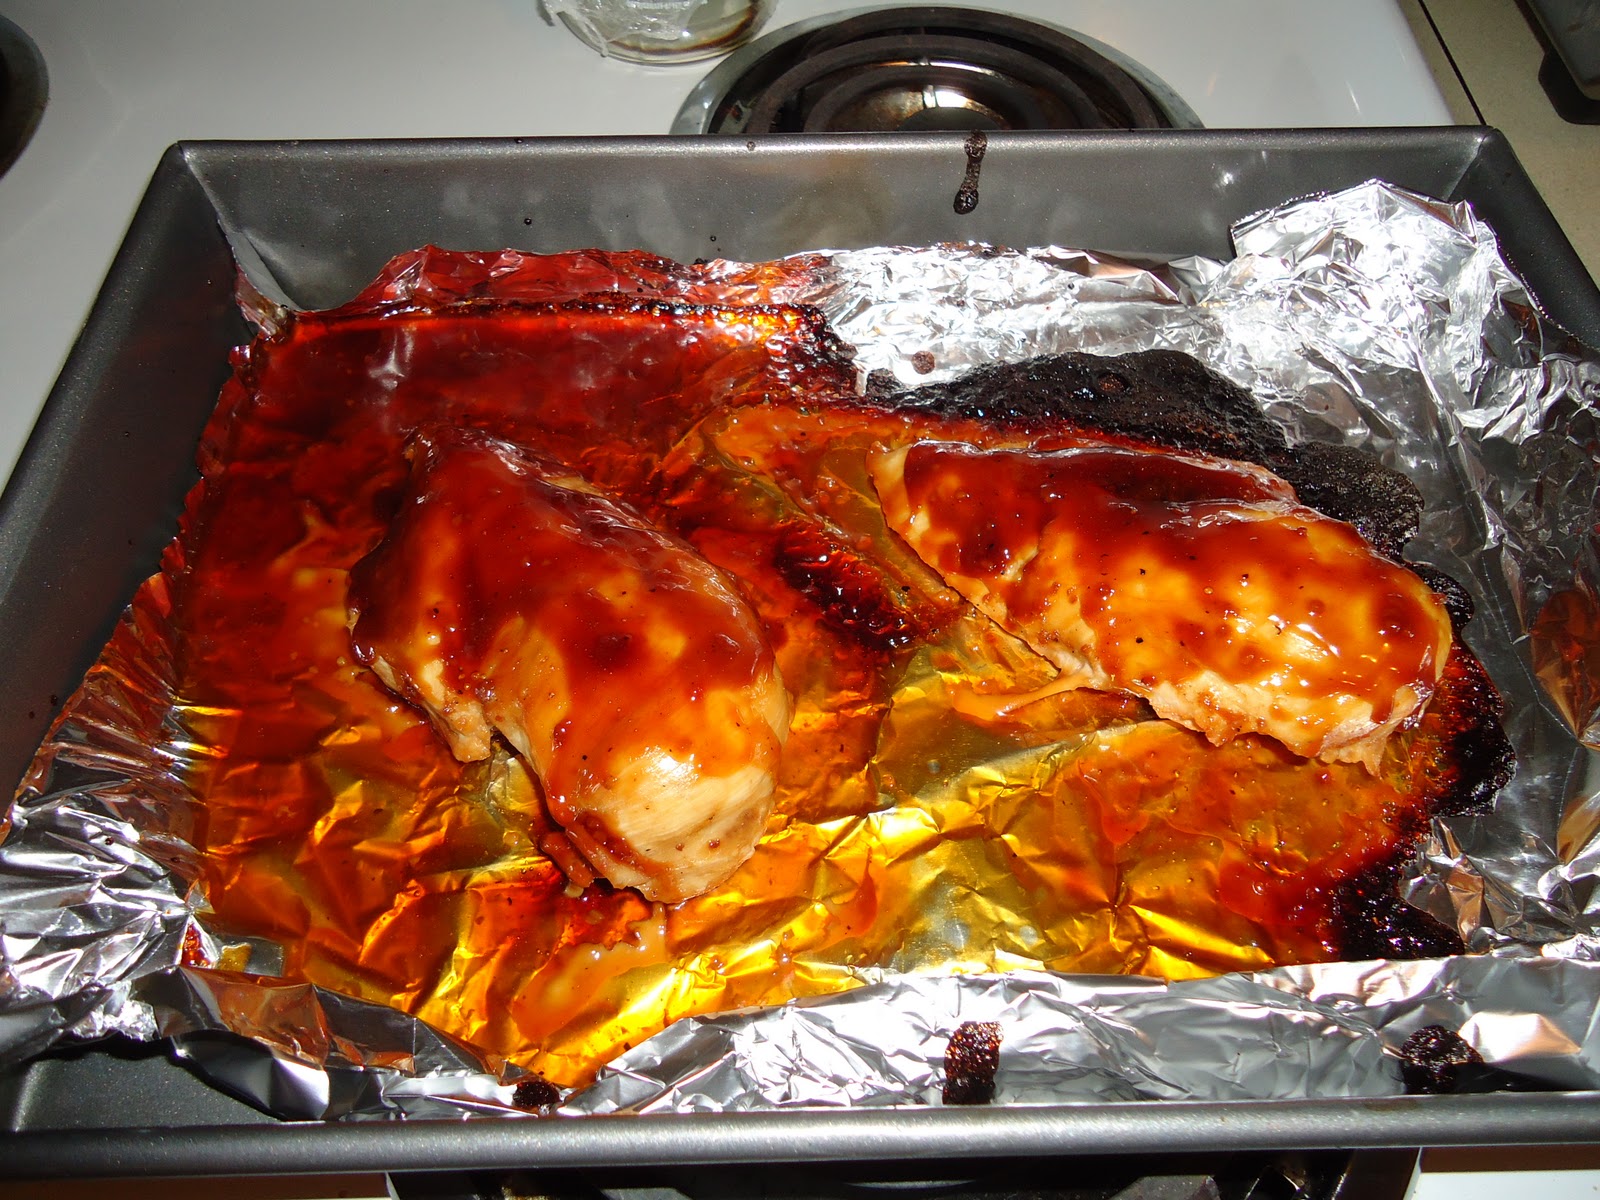
I don't know about you, but whenever I see teriyaki sauce (for marinating chicken or steak) it's always extremely thin/watery. Therefore, I developed my own sauce (from a combination of different recipes) that thickens nicely (glaze-like) and has excellent flavor. It's very easy to make and tastes great on chicken, placed over a bed of rice (which is what I always make with this)!

Prep time: 30 minutes
Cook time: 40 minutes
Servings: 2

Ingredients:

  • 2 tsp cornstarch
  • 2 tsp cold water
  • 3 tbsp light brown sugar
  • 2 tbsp white, granulated sugar
  • 5 tbsp soy sauce
  • 2 tbsp and 2 tsp apple cider vinegar
  • 2 cloves garlic
  • 1/4 tsp ground ginger
  • 1/4 tsp ground black pepper
  • 2 chicken breasts (I cut the excess fat (white junk) off before I bake)


    All of the ingredients, except for the chicken.
    Often things you have at home that you use for many recipes!

Directions:
  1. In a small saucepan over low-medium heat, combine the cornstarch, water, sugar, soy sauce, vinegar, garlic, ginger, and pepper. Let simmer, stirring frequently until sauce thickens and bubbles.
    All of the ingredients added into the pan, stirred up and on low heat.
    Bubbling, turn the heat down, and it will thicken.
  2. Preheat oven to 375 F.
  3. Place chicken in baking dish (I use a 13 x 9 cake pan) lined with aluminum foil. Brush both sides of the chicken with sauce.
    The chicken all trimmed of fat and ready to bake!
Add a layer of teriyaki. You'll want to do this over the course of the bake.

4. Bake in the preheated oven for 40 minutes, until no longer pink and the juices run clear. Brush with sauce every 10 minutes during cooking: 25 minutes covered with foil, 15 minutes uncovered.
5. Remove chicken from oven and allow to stand for ~10 minutes so juices remain within the meat.


Note: This sauce is JUST enough for two. You may want to alter the amounts if you find it isn't enough sauce for your liking. The sauce will "melt" off of the chicken, so you can use your brush to sop up some of this and reapply it to the chicken.

Using the foil is important because it allows for a VERY easy clean-up. Otherwise, the over-run sauce will burn onto the pan, making it difficult to scrape off.