Alright, for my first post I will show you something ridiculously easy to make. This idea was actually posted on facebook by my friend's mom! So here it is! It is a nice holiday treat at home or as a little gift during Christmas. [You may also make this any time of year, but the colors used here are fitting for Christmas.]
-Takes about 5 minutes to prepare, 5 minutes to cook, and about 20 minutes in the freezer.
-Makes many servings, depends on how much money you feel like spending on chocolates, haha :)
What you will need:
-small, waffle-shaped pretzels (I bought Snyders on sale at Meijer for $2/bag)
-Hershey's kisses (I chose a bag of milk chocolate and a bag of the "candy cane"/mint because it looks good)
-Christmas M&Ms, the entire bag is red and green
-parchment paper
-cookie sheet
--total spent: I will keep better track of cost for the items in future entries, I think it'll be helpful. But this cost around $14, including the bags and tags (I talk about this below). Definitely a great price for how many pieces you get. [This total is assuming you already have some parchment paper and cookie sheet. I love parchment paper because you can reuse it as long as what you're making doesn't create a liquid mess. So if you need to buy parchment paper, know that this will not be something you must frequently purchase and can be used for many baked-goods projects.]

(top left: chocolate kisses, middle: pretzels, top right: candy-cane kisses, bottom center: red and green M&Ms)
1. First, preheat your oven to 170 degrees F (or 75 degrees C).
2. Next, line your cookie/baking sheet with your parchment paper.
3. Line up your pretzels on the sheet.
4. Place an unwrapped Kiss on top of each pretzel and place in the oven for 5 minutes.

(this picture borrowed from "Little Birdie Secrets" blog)
5. The Kisses will start to look "shiny", but shouldn't really lose their shape too much. Remove from oven.
6. Gently top each Kiss with an M&M, with the "m" side down. It should immediately push the Kiss' point down, but if you have to press it into the Kiss, you may need to heat them a little longer.
7. Place in the freezer until the Kiss is cooled/hard again (I transferred mine to a small plate to fit in my freezer since it's smaller in size).
Here's what the final product looked like once cooled and thrown into a pile, haha:
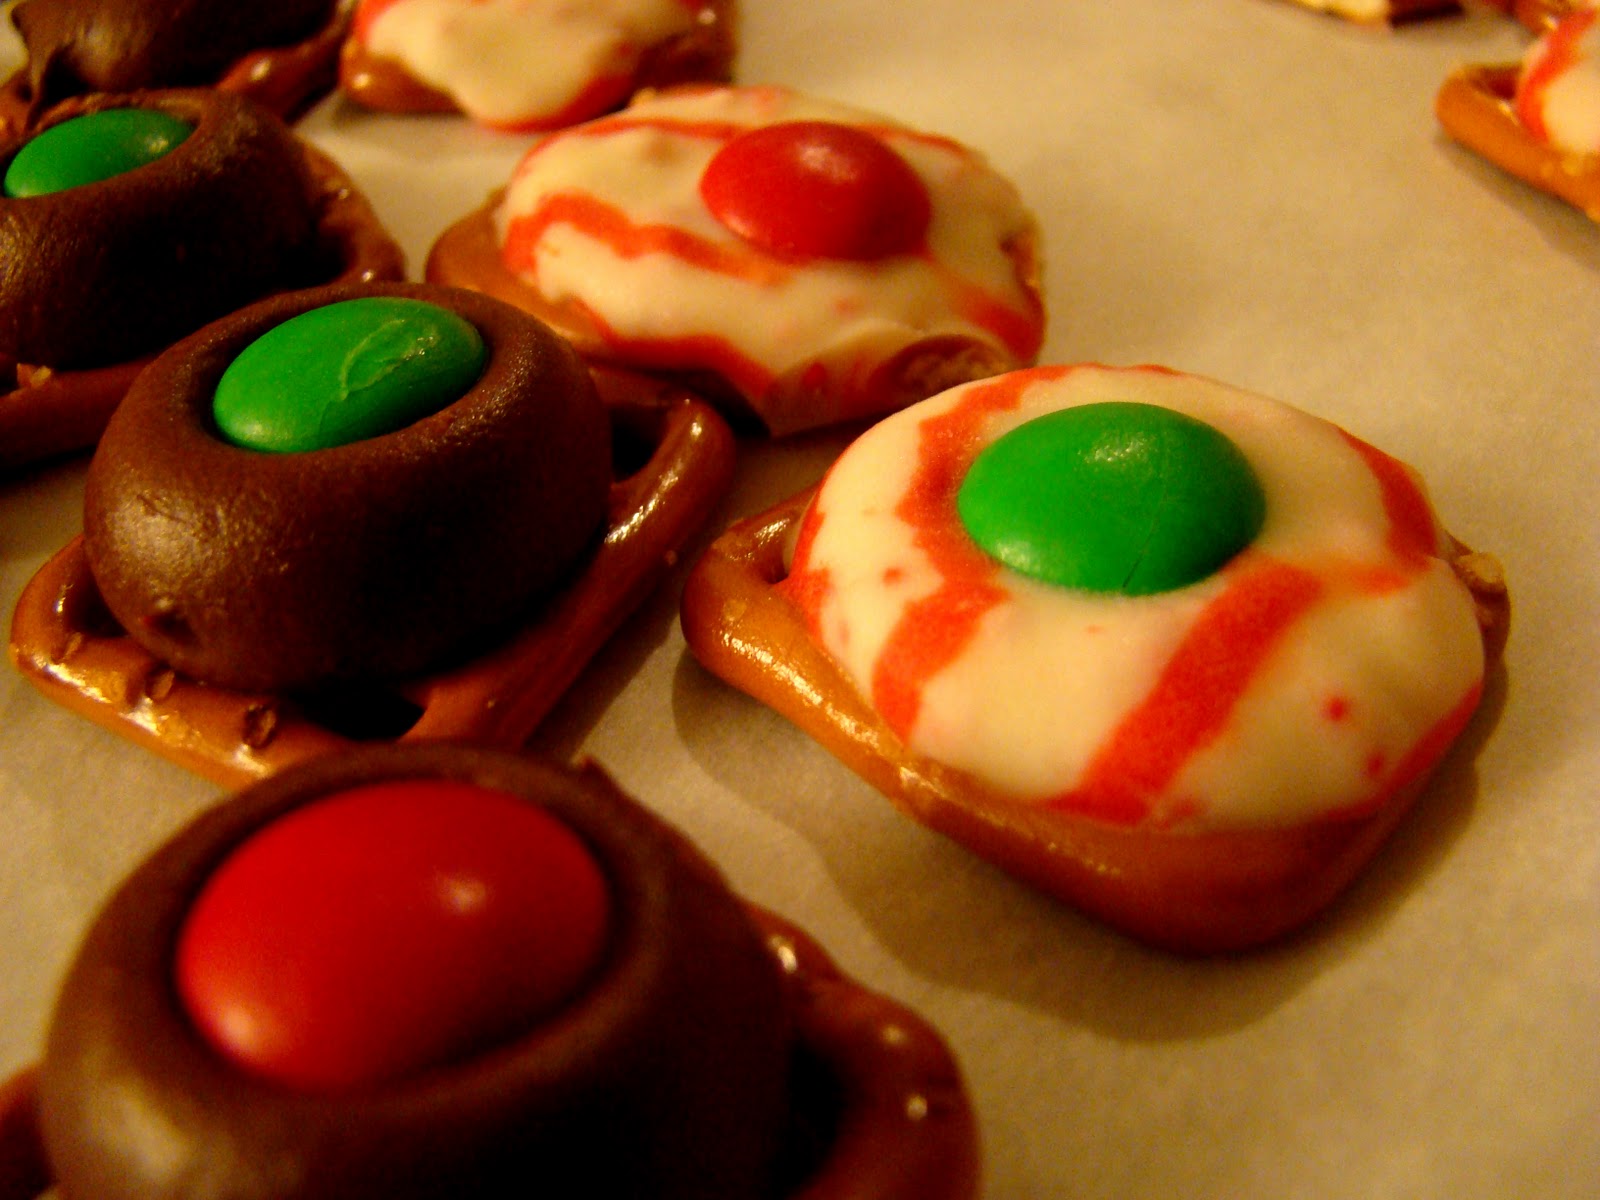


(my milk chocolate kisses could have baked slightly longer)
Notes:
-I made my pretzels with both milk chocolate and candy-cane kisses for variety. If you are doing this as well, I recommend baking these in separate batches because they melt differently. The candy-cane kisses were ready to be taken out of the oven sooner than the chocolate, so make sure you keep an eye on them!
-You can create a cute little goodie-bag to give these as a treat to friends and family. I went to my local Dollar Tree and picked up 3 packages (8 bags in each) of treat bags and a package of gift tags (50 count). (Cheap!)


Here is what a bag with some pretzels and a tag around it looks like:

It also looks nice to use a clear bag because the treats themselves have a cool look to them. This bag only has about 16 pieces in it, I think it would look good with about 30.
And there we have it!
After tasting these little treats, I thought they were really good. I like the salty-sweet combo of candied pretzels...a taste many are familiar with. So you'll have an idea if you'll like this before you even make it, most likely. It's just cool that it's home made, Christmas themed, and SO SIMPLE and quick. Definitely recommend this.
----------------
Let me know if you have any suggestions/edits, if you try out the recipe yourself, and what you like/dislike about it!
Thanks for reading! :D Happy snacking!
No comments:
Post a Comment