First things first: Happy New Year!!!
Sorry it has taken SO long to update. December was a crazy month...with my prospectus presentation (I passed with flying colors, praise God!) and the Christmas season life has been anything other than "slow". My husband and I have been running around a few states the past 2 weeks and tonight was honestly the first night we got to sit down and I make something new in quite some time. I finally got around to the French onion soup I've been meaning to make. Sal requested it a while back. I will just dive in...
A few things to note:
-You need to have some type of oven-safe bowls or (small) containers to broil the cheese at the last step.
-This recipe looks daunting by the ingredients and steps, but I PROMISE you it's not as hard as it seems. I think part of the reason I have not cooked this soup yet is just because I was scared of it! haha
-It does require quite a few different ingredients, but these are good things to have in your pantry for other home-made dishes.
-If you are inexperienced in making a soup like this, give yourself a little more time than I have listed to account for planning/prep/thinking.
***I have listed the recipe I followed...although I do have a minor future adjustment to make. The one posted below turned out great, nonetheless. I just thought I would post my first run-through.
This makes about 4-6 servings (1 serving = 1 hefty bowl!).
Prep time: 15-20 minutes
Cook Time: around an hour
Ingredients:
- 4 tablespoons butter
- 1 teaspoon salt
- 2 large, red onions--thinly sliced
- 2 large sweet onions--thinly sliced
 |
| Butter and onions |
- 48 oz chicken broth
- 14 oz beef broth
- 1/2 cup red wine (cooking wine)
- 1 tablespoon Worcestershire sauce
 |
| Main soup ingredients |
- 2 sprigs fresh parsley (I didn't know what a "sprig" was, so I just ripped off a few branches and threw it in the pot, haha)
- 1 sprig fresh thyme (I didn't have fresh thyme, so I used just a few pieces of dried)
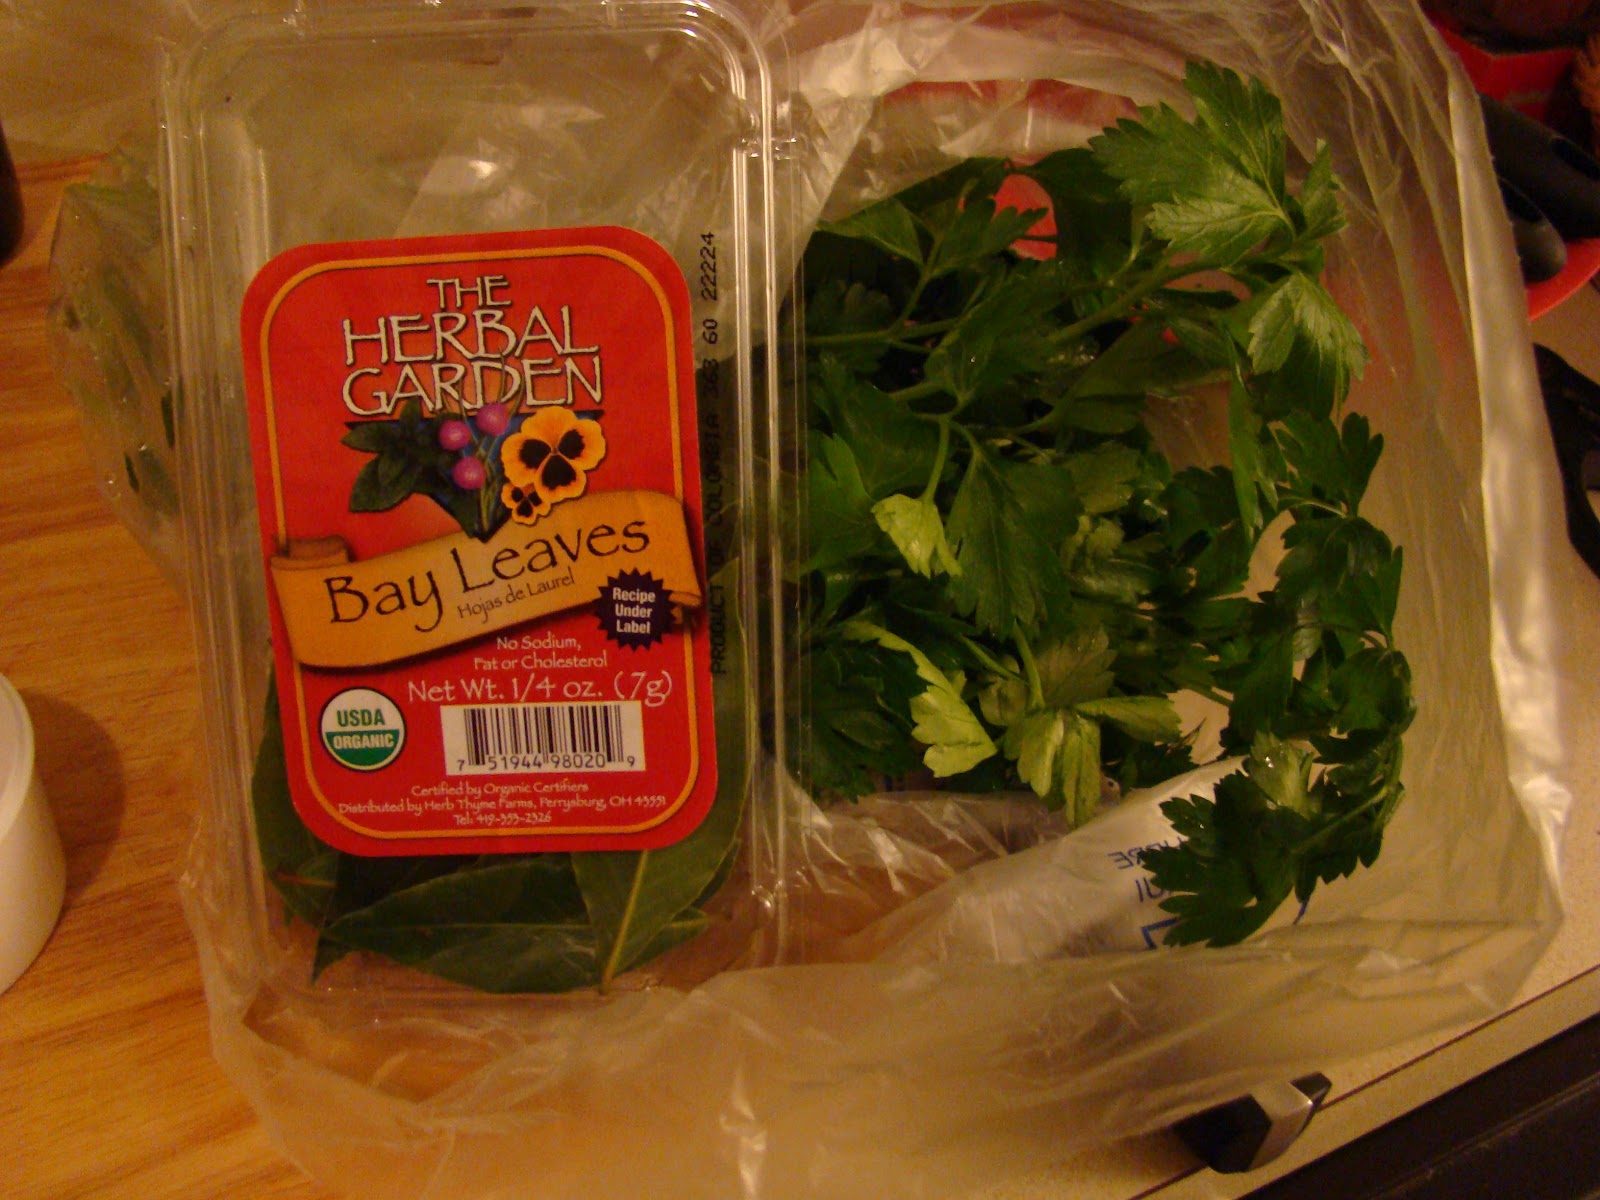
- 1 bay leaf (had to buy an entire pack just for one leaf which was kind of irritating, but you can freeze the remainder for future soups/stews
 |
| Bay leaves and parsley (dried thyme not shown) |
- 1 tablespoon balsamic vinegar
- salt and ground pepper to taste
- a loaf of French bread
- Gruyere cheese (pre-sliced would be nice/faster)--need a thin layer to cover your bowl. so you'll have to judge the amount by the size of your dishes
- shredded mozzarella cheese (amount determined same as above)
 |
| Swiss Gruyere from local market (Trentwood Farms), shredded mozz and bread! |
- 4-6 pinches paprika (optional)
Phew! Got done with that list. Keep reading! Don't be afraid! ;) :D
Directions:
Attn: This is obvious, but be sure to be very careful when handling hot items...the baking sheet, the bowls that go in the oven...the broiler is hot and oven burns are nasty!
- Melt butter in a large pot (I used a wok, you need quite a bit of mixing room!) over medium-high heat.
 |
| Medium-high! |
- Once the onions are thinly sliced, stir in salt, red onions, and sweet onions. Cook 35 minutes, stirring frequently until onions are caramelized. What this means is that your onions are going to get really soft, browned, and gooey.
 |
| Sliced... |
 |
| Added to melted butter and salt. |
 |
| Starting to brown. |
 |
| "Caramelized." |
- Mix chicken broth, beef broth, red wine, and Worcestershire sauce in with the onions.
- Add fresh herbs (parsley, thyme, bay leaf). Simmer over medium heat for 20 minutes, stirring occasionally.
 |
| (I added the onions after I mixed the other ingredients) |
- Remove and discard the herbs.
 |
| Soup is all ready! Now just cheese and bread! The milky look at the bottom of the pot is just the flash reflecting off of the steam. |
- Reduce heat to low, mix in vinegar and season with salt and pepper. I would only add a little bit of salt and pepper if any because there is already a lot of salt in your broths and what-not. Do this according to personal taste!
- Cover and keep over low heat to stay hot while you prepare the bread.
- Preheat oven broiler. (Do you know how to use your oven's broiler? Check the manual or the bottom of this post for the way it works with my oven.)
- Cut your French bread into decently thick slices, I would say 1-1.5 inches. Arrange on a baking sheet and broil 3 minutes, flipping after 1.5-2 minutes. Make sure the bead is well-toasted on both sides. Remove from heat (but do not turn off the broiler!).
 |
| You want your bread pretty crispy because it'll get soft in the hot soup. :) |
- Arrange your oven-safe bowls on a baking sheet. Fill each bowl 2/3 full with hot soup. Top each bowl with as much bread as you want...my bread was small, so I put four slices in each bowl.
 |
| Soup in bowls... |
 |
| Bread on top... |
- Make a Gruyere cheese layer over the bread and soup.
 |
| I had a thin block, so my slices weren't very neat. Doesn't matter! |
- Sprinkle some mozzarella over the Gruyere. This will give you that stretchy-cheese when you're taking scoops of your soup. :)
 |
| All ready for the broiler! |
- Then you may add some light sprinkles (a pinch!) of paprika on top to finish it off.
- With the bowls on the oven sheet, broil about 3 minutes--you'll need to keep an eye on it. For some ovens it may be more or less time, it also depends on how high/low the rack in the oven is. Anyway, you know it's done when it's all bubbly and golden brown on top!
 |
| Browning :) |
- And you're done! Eat and enjoy!
 |
| Finished soup...delicious! |
 |
| A picture of Sal's second bowl, half-way done. |
It sounds a little technical, but I promise you it's much easier than you'd think. Sal said he gave it a 5 out of 5! The one suggestion he made is that I switch the amounts of beef broth and chicken broth so that it was more beefy because this is the way it usually tastes. But once again, it's a matter of preferences. It was still really great by following the recipe listed.
Bon appetit!
Source: http://allrecipes.com/recipe/french-onion-soup-gratinee/detail.aspx
-------------------------------------------------
Using the broiler:
Obviously all ovens are different, so understand how to use yours before attempting broiling. My oven is a Whirlpool, electric. These are just instructions on how I use my broiler. Broilers are "direct heat" used to cook meats and brown cheeses (gratinee!). In my electric oven, this consists of the heating element/coils at the TOP of the stove that intensely heat up to scorch the top of the food. A lot of people will use this when they don't have access to a grill. I've used this for baby-back ribs and cheeses, thus far.
So anyway, to broil:
I set my oven knobs both temperature and type (meaning baking, broiling, etc) to "broil". I wait for it to heat up and then place in the food item. My oven says it is important to keep the oven door partially open while broiling (most ovens are able to hold a door open a few inches before closing). It's usually a quick process, so you'll want to keep an eye on your food while it's cooking.
And that's it...it's nothing too special or different. I am just posting this because when I first read about having to broil something a few months ago, I really had no idea what it meant!
If you have more questions, feel free to ask or google search "what is broiling" or "how to broil". I'm sure you will receive good answers. :)